Custom Post Types (v1)


The custom post type process in a nutshell:

  1. Your Sandhills Designer sets up the input form and the output file using standard HTML, CSS, & PHP.
  2. You fill out the simple form in the back-end of the site with raw data to create the listings.
  3. The listings output on the website styled, formatted, uniform and beautiful.

What are Custom Post Types?

Custom Post Types (CPTs) are an extremely powerful tool that allow you to create large amounts of serialized content (like listings) that outputs based on a template that is already formatted for you.

Pretty much everything in WordPress is a post. Pages, posts, even photos are all posts to WordPress. The Custom Post Type (CPT) is a way to store a defined set of data inside WordPress as a “post.” Once we have the data in WordPress, we can customize the output later to create all sorts of unique designs with the formatted data from the custom post.

You could think of it as a blog of data. Each custom post type uses a standard form to input data and a standard format to output that same data. Because that data is uniform, we can do all sorts of cool things with it on a webpage, and it will always behave the same because the data sets are always the same (even though the values are different). This is extremely valuable any time you have serialized data, such as staff listings, featured products, locations, manufacturer lists, job postings, pre-formatted display items or anything you can imagine!


Please Note : Your Sandhills Designer will have set these up for you if they are used in your site.


Adding Posts to your Custom Post Type

Your input form should already be set up by your Sandhills Designer and you can now add data to your Custom Post Type. So, how do you add posts?

All CPTs will have a specific menu link on the admin menu in WordPress. In this case, it is “CPT DEMOS.”

You will see that it behaves the same as adding a new blog post in WordPress. You automatically get the “All CPT Demos” link where you can edit individual posts, the “Add New” link that will give you the blank form that you use to create new listings, and the “CPT Categories” link where you can manage the taxonomies (which is WordPress terminology for Category Name), if you are using categories.

Adding a CPT

You will see the ADD TITLE bar at the top. Each listing requires a unique title to function. WordPress adds this automatically. If you had chosen to use the WP Post Editor, it would show up directly under the title and make the page look very much like a standard blog post page.

You will notice that you can add and assign categories from the right sidebar on each post. The Featured Image box is also over there. What isn’t shown is that the Author and Excerpt boxes, which show up below our form in their own separate areas.


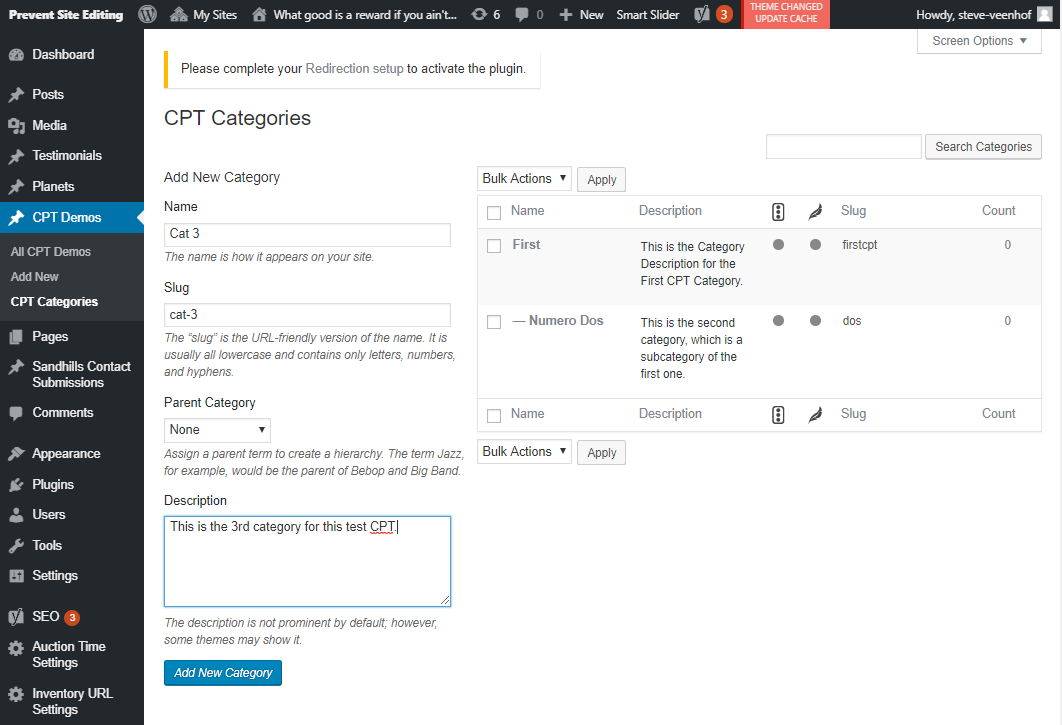
Managing CPT Categories

This is super simple and just like any WordPress category. Simply fill out the form! You can edit or create categories, manage slugs, and create category hierarchies through this tool.

The right pane lets you easily edit and manage existing Categories. A useful feature is the Count. It will tell you how many posts are in each category.


Managing Categories